
Wait…no…not two years. Four years, actually. How embarrassing. Oh well…this proves we’re pretty normal people, right? Riiiight, normal people take four years to complete a project.
So, about FOUR years ago, we decided to remove our aggregate walkway. It had been uprooted by some tree roots that we removed several years back…a major tripping hazard since before we moved in, and it had to be fixed. Here’s what it used to look like…
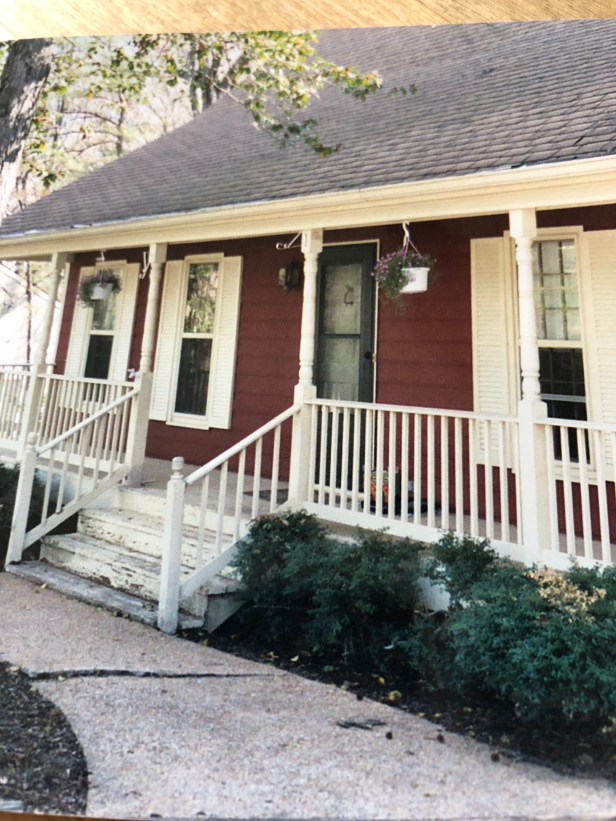
We knew we would have to fix this eventually, but we spent many years telling any visitors to “watch your step.” When we finally decided to tackle this project, we rented a jack hammer from Home Depot (not all locations offer tool rentals, but it certainly is a reasonable option when you need something like a jack hammer for a short time), and the husband and a dear friend took turns breaking up the old walkway. It looked like hard work. I watched from the window—I’m not afraid to use tools, but a jack hammer is a bit out of my comfort zone.


Around that same time, Home Depot had a really great promotion on brick pavers. We made multiple same-day trips, loading as many bricks as we could into the back of our Jeep. Somewhere between four and six trips, we bribed our friend (who has a truck) with a nice dinner and were able to deplete our local Home Depot of their brick supply.
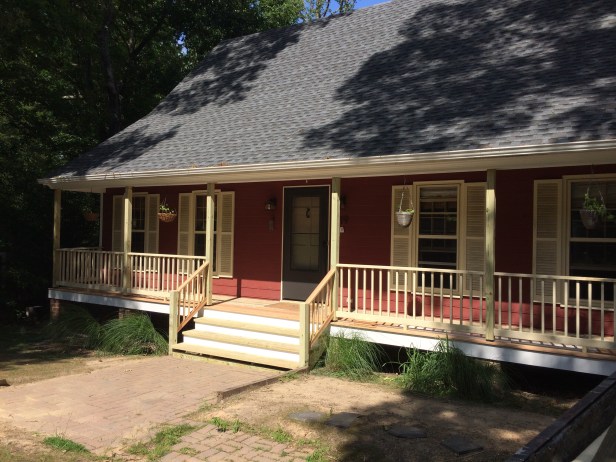
With the old walkway gone, we were left with a massive area of dirt. Not a good idea when you’re having a bunch of kids over in a few weeks for a summer party! I *temporarily* placed our new brick walkway so the kids wouldn’t track mud into my house. I figured this would hold until we could properly install the new walkway. Fast forward, ahem, FOUR years! Our temporary walkway was still holding strong. And guess what? It was kind of a tripping hazard (insert eye roll here).
Then a few weeks ago (ok…maybe it was actually a month ago), the husband and I were discussing our list of house goals and plans. Our conversation went something like this…
Husband: So, let’s order the gravel and sand so we can finally get this done. For real.
Me: Ok. Sounds good.
Husband: No, really. Let’s order it.
Me: Yeah, ok. Watch me…
So I did it! I took measurements (again), calculated how much gravel and sand I needed (again), and let me tell you this! If you are in RVA and need gravel, Pete Rose Inc is your place! They were super-nice, delivery was quick, and the pricing was great! I got my product in these awesome 1-ton bags which kept everything neat and we could still park in our driveway!
Once I had all my supplies on site, it took me all of two days to complete this project. Two days! It was one of those “I can’t believe it took me so long to actually do this” moments. Keep in mind that I’m not a professional—I’m simply a person who researches the heck out of things and loves to tackle DIY projects. If you are looking to do something like this, know that it’s definitely doable, but please do your research.
I went for about a 3-inch layer of crusher run gravel, tamped that down, added a 1-inch layer of sand, then went to work on adding my brick (which is about 2-inches thick)…that’s about 6 inches of depth that should hold up well in our climate. I did break out my level to make sure the new path wouldn’t be all wonky. I certainly didn’t want this path to be a tripping hazard!


Laying this all out went pretty smoothly since I had done most of the prep-work before my gravel arrived. It was definitely labor-intensive, but it went relatively quickly. Once everything was in place, I added polymeric sand between the pavers (that’s the sand you sweep into the crevices and wet down to form a nice bond between the pavers). The walkway is pretty big—almost more of a patio—I’m happy that it came together so well!


The true test of my work came a few days later in the form of an intense overnight thunderstorm. It stood! No pools of water, no wandering bricks…just a beautiful patio/walkway that I’m pretty proud of. And it only took two days (and—ahem—four years)!
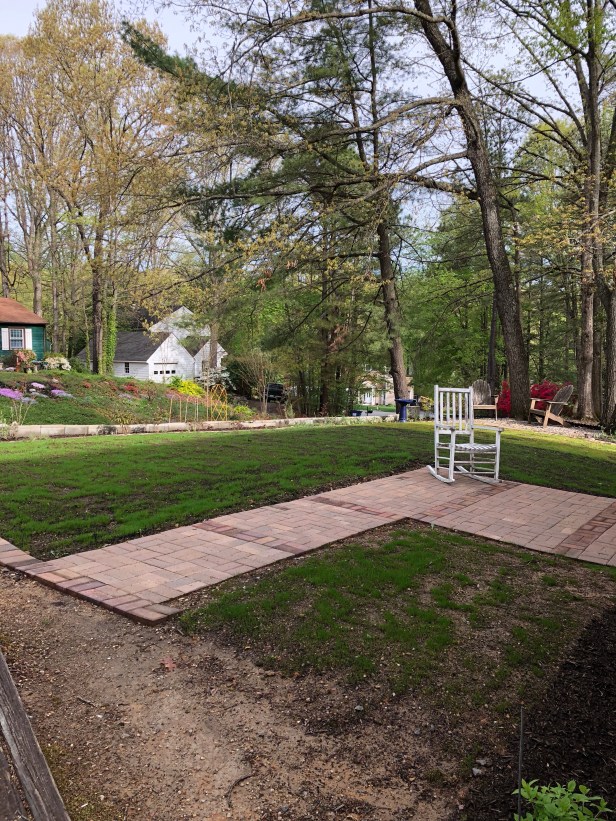

It is gorgeous!
LikeLike